Followers

Showing posts with label Tiddly Inks. Show all posts

Saturday, March 14, 2015

Busy, busy, busy...

Hi guys, girls and fellow crafty peeps.

I apologise that I haven't been on line for absolutely ages, I've been renovating my late Grandmothers' house AND it's finally finished AND we have some tenants in, who are absolutely over-the-moon with it.  I hope that they will be as happy in the house as my grandparents were.  They have a young baby so it'll be nice, I'm sure, to have some laughter in there after so long of being empty.  Anyway, it's all done.  Now back to some crafting.

Although I haven't been posting, I have still been making loads in my lovely, calm, craft room.  I'll post some pictures over the next few days, but in the meantime, here are a few I have made today.

My friend, Jane, is 50 on Tuesday next week, (St Patrick's Day) and it is also going to be her wedding day as she will be marrying her lifelong partner, Karen.

Hope the day is extra, extra special with double celebrations for you Jane.

The image is from the Sweet Tooth collection at Tiddly Inks, and is called 'Let Us Eat Cake'.  She can be found here.

The stamped sentiment is from Hero Arts, but I'm not sure who the papers are made by I'm afraid.  They are from my overflowing paper stash.  The card is 8" x 8".

I coloured the image with Copic Pens and added a few embellishments to finish the card off.

This next card was one I made for my sister-in-law's birthday.  I just love the way the colours worked out on this one as she loves yellow and blue and together I think they work really well.

Papers are again from a well overstocked pile of mish mash papers that have no markings whatsoever, to indicate who made them, so I apologise if they are something you would have been interested in purchasing.

The image is from Mo's Digital Pencil and I am entering her into the latest 'Anything Mo Goes' challenge.  She is called 'Bella Carrying the Cake' and can be found here.

Well, these are just two of quite a few I have made over the past few months, but as I said, its my first time blogging in a while so I will need to get back into the swing of things SLLLLLLOOOOOOOWLY, so please be patient with me.

A big thank you to everyone who has emailed me to make sure that I am still alive and kicking, it was nice to know I was being missed and thanks also to my followers who kept popping back regularly to see if I posted anything new. I promise to post a few new things each day for the next couple of days to make it worth your while.

Thanks guys x

Thursday, October 18, 2012

Happy Halloween

Hi guys and girls
I have something special today.  My passion for everything Halloween has been on an all time high today as I have been combining a few Blog Challenges to make something special.  I am entering this card in the following challenges:-

Passion for Promarkers 'Bee Happy' (Yellow and Black)
Songbird Challenges 'Build Me Up Buttercup' (Yellow)
Tiddly Inks 'Halloween' (using a Tiddly Inks image)
Divas by Design 'Something Spooky'
Cutie Pie Challenge Blog 'Halloween'

Firstly, I took a 20cm by 20cm (8" x 8") white base card.  In Publisher I had a 18.5cm x 18.5cm square and inserted the Tiddly Inks spider web (freebie) from a while back, into the box.  I then layered another box over the top and added the 'Spooky Birthday' image (but only part of it).  I stuck this to the base card with double sided adhesive tape. I then added a Halloween sentiment, a ribbon and three yellow card candi.

On the inside, I created a similar background and then added a verse that I made up. It says:

From our house to your house
on 'All Hallows Eve'
may your Hallowe'en be a restful one
from Fae, Lianne, Lewis and Steve

I then reprinted the first image and coloured the cake in. I then cut the cake out and added it to the verse on the inside.

Thank you for taking the time to visit my blog today.
Hugs


Just a quick addition to the previous entry... my card got the Passion for Promarkers TOP 5. Yay!

Monday, January 23, 2012

Cards for Girls

I made these cards for two young girls birthdays.  A work colleague wanted something that wasn't too girlie but also wasn't too grown up. So I decided to make cards with their names which I sketched out roughly before committing to a solid outline (I wasn't happy with the 'Z') and then added the new Wryn digital images from Tiddly Inks. I just love these girls.

The whole new and very gorgeous collection of girls can be found here.

Christy croll is such a fabulous artist, enjoy looking around her shop, there's something for everyone. Not to mention tutorials and inspiration from the Gallery.

Hope you liked my cards and thanks again for stopping by.

Hugs xxx

Saturday, January 07, 2012

Breaking Dawn Card

Hi girls and fellow crafters

Here's a couple of cards I have made yesterday and today.

This first card I made for a work colleague whose daughter, Erin, turned thirteen yesterday.  She asked for a 'Breaking Dawn' card and I didn't want to make it too 'young' OR too 'old' and I thought this digi image from Tiddly Inks would be perfect.

The photograph doesn't actually do the card justice and looks so much better in the flesh (so to speak).

I coloured the image with my copics and my Derwent Watercolour Pencils and a little bit of Sansodor with a blending stump. I was really pleased with the overall colouring of the image and I mounted it onto coloured card, continuing with the breaking dawn theme, i.e. sunrise colours etc.

Here's an image of the blank digi and the finished coloured digi up close so that you can see all of the folds etc that I have added to her dress and his suit.  I actually wasn't that happy about how his suit turned out but I did like how her dress turned out.

Anyway, that's the first card to show to you all today, I hope you like it and thank you so much for stopping by. Hope you had a lovely 13th birthday Erin, all the best for a happy year to come.

Hugs and best wishes.

Thursday, December 29, 2011

Steampunk Girls II

Hello again,

This final card that I have made today is as the previous card, but in blue, and boy what a blue...

As before I cut out the topper card twice in two sizes. The first  I cut out in a really rich, vibrant blue and the second, slightly smaller piece I cut from white, with the printed image already on it.

I then added the colour to the edges using Impress 'Cerulean Blue' and a make up sponge.

Next, I coloured the image the same way as I did with the 'red' card and added another piece of the blue card to the base of the easel and then added a greeting and some ribbon. The edge was created with the Martha Stewart punch again (as before). I also added some pins.


Here's a close up version of the card closed and the smaller photo is of the easel standing up.

Thanks for stopping by again

Hugs and kisses

Steampunk Girls I

Well, I'm back again with the second of my cards that I have made today.  This card and the next are made using the same Digital Image from Tiddly Inks, but both cards are in different colours. One red and one blue.

I love these steampunk images. They look so fabulous and once again I have added the pleats and folds with my promarker pens and Derwent pencils, blended together with Sansodor.

I used my lovely die cutters again to cut out the topper card and printed the image onto one of them in whte and then added the Strawberry Fool with my make up sponge to the edges, as before.

I then added some Card Candi from Craftwork Cards in a graphite grey and made the backtopper in Graphite Grey aswell.

I then added another bit of the same card to the base of the easel and edged it with a Martha Stewart punch and added some ribbon.  I then added another greeting from Craftwork Cards so that the easel can stand up when opened.

Here is a photograph of the card when it is flat(ish) and I think it looks really effective especially against the scalloped base card.

And finally, here is a close up of the image so that you can see the detail more clearly.


The next card is almost identical but using the colour blue.

Thanks for stopping by and visiting, hope you like the card.

Hugs and kisses

Wednesday, July 27, 2011

Fairytale Wedding


Hi girls (and guys)
Just wanted to add a little card that I have made for a friend's wedding. Wendy and Kevin are getting married on Saturday 30th July and I was honoured to make all her wedding and evening invitations, her place names and her seating plan for her, so I wanted to make a really special wedding card for her.

I used two digital images, the magical, whimsical house (which I would love to live in) from Make it Crafty and the couple from Tiddly Inks (my favourite digiartist, Christie Croll is just amazing). I merged the two images together and added a free sentiment from Create with TLC and voila. I printed the image off twice so that I could decoupage some of it over the top and this is what I came up with.

I coloured the image with my promarker pens and then used my coloured pencils to add highlighted and shaded areas and give them more depth, I then went over the whole image with Gamsol to blend the pencil in with the promarkers. This is also good for 'setting' the image, sort of like spraying art work at school with hairspray. It basically stops it from smudging or smearing later from too much handling.

I then painstakingly cut out the 'vines' and the door and then the bride and mounted them onto foam pads to create some 'depth' to the image.

Here's an even closer version of the card so that you can see all of the little areas I had to cut out to create the desired effect. I am really pleased with it, but please note that the actual photographs are not doing the card any justice at all. I am not being big-headed here, but it really does look so much better in real life (so to speak).

Thank you so much for visiting me today and hopefully, you will take some time to leave me a comment. Good or otherwise. I'm good, I can take critisism. If you don't like something, let me know, it's all good.

Anyway, thank you for taking time out of your day to visit me, and I hope you will remember me and come back soon. Have a great day, hugs xxx

Saturday, July 09, 2011

Exciting News

Since Spring this year, Make It Crafty and Tiddly Inks have been craftily plotting the coordinated release of a collection of Victorian and Steampunk images. Doesn't that sound fabulishious???? 
 
Like all good things, creative genius takes time but on July 14, Zoe and Christy and their teams will release a delightful combination of images, and welcome us to anticipate the release of "Mix and Match with Make It Crafty and Tiddly Inks."
 
Don't forget to check their blogs regularly for sneeky peeks and enter a quickie competition over at Tiddly Inks as the lovely Christie will be selecting someone to receive FIVE new digis from the collection, THE DAY BEFORE GENERAL RELEASE. Check it out now.

Hugs and kisses xxx


Tuesday, July 05, 2011

Pick-You-Up

I work at a Catholic Secondary School and I thought this lovely little digi stamp from Tiddly Inks with her checked shirt was right up my school's street in terms of School Uniform. So I coloured the skirt in our school colours and added a little message.

My daughter wanted to make the card for a pupil at my school, who also happens to be a colleagues daughter, as she is having a tough time in Year 7, and she wanted to cheer her up. So she asked me to use the image I had coloured on a card for her to make her smile. Bless.

So anyway, here is the finished card.

Hope she likes it and thanks for stopping by. Hugs xxx

Monday, March 07, 2011

How many fingers???

Hello again...

Another card I have edited (to relieve my boredom and not be able to make a card yet... although I am having fun colouring in lots of images in readiness).

This card is an image from Tiddly Inks. I have to confess that I am not 100% sure about what it is exactly, it could be a hamster, a gerbil or maybe even a groundhog or something????? Nevertheless, he's too cute so I had to have him.

I coloured him with Promarkers: Cocoa, Umber, Cinnamon, Blush and Blossom and Yellow. The stamped sentiment is a clear stamp from Inkadinkadoo.

The DP are 6" x 6" and were a gift from Sandra so I am not sure who made them. Sorry.

Thanks for stopping by. Hugs xxx

Saturday, March 05, 2011

Pinky's Colours

Hi girls (and fellow crafters)

Here's a card I made for this week's Tiddly Inks 'Color' Challenge. Basically a Tiddly Ink stamp that is colourful and bright. So I went all out with 'Pinky'.

I was asked to make a card for a friend 'with a (nice) skull' so this is what I came up with, although I am not going to give her this one as the one I am going to make for her will have her daughters' name on it. This was a practice run. And I lurve...lurve...lurve pinky's red hair!

She has cardinal red hair, blended with cinnamon and her clothes are pear green, pastel blue and the cake is bluebell and amethyst. The DP's are just scraps that I had left over so I don't have a clue who originally made them as the labels are no longer on them...sorry!

Hope you like it?
Hugs and thanks for stopping by xxx

Friday, February 25, 2011

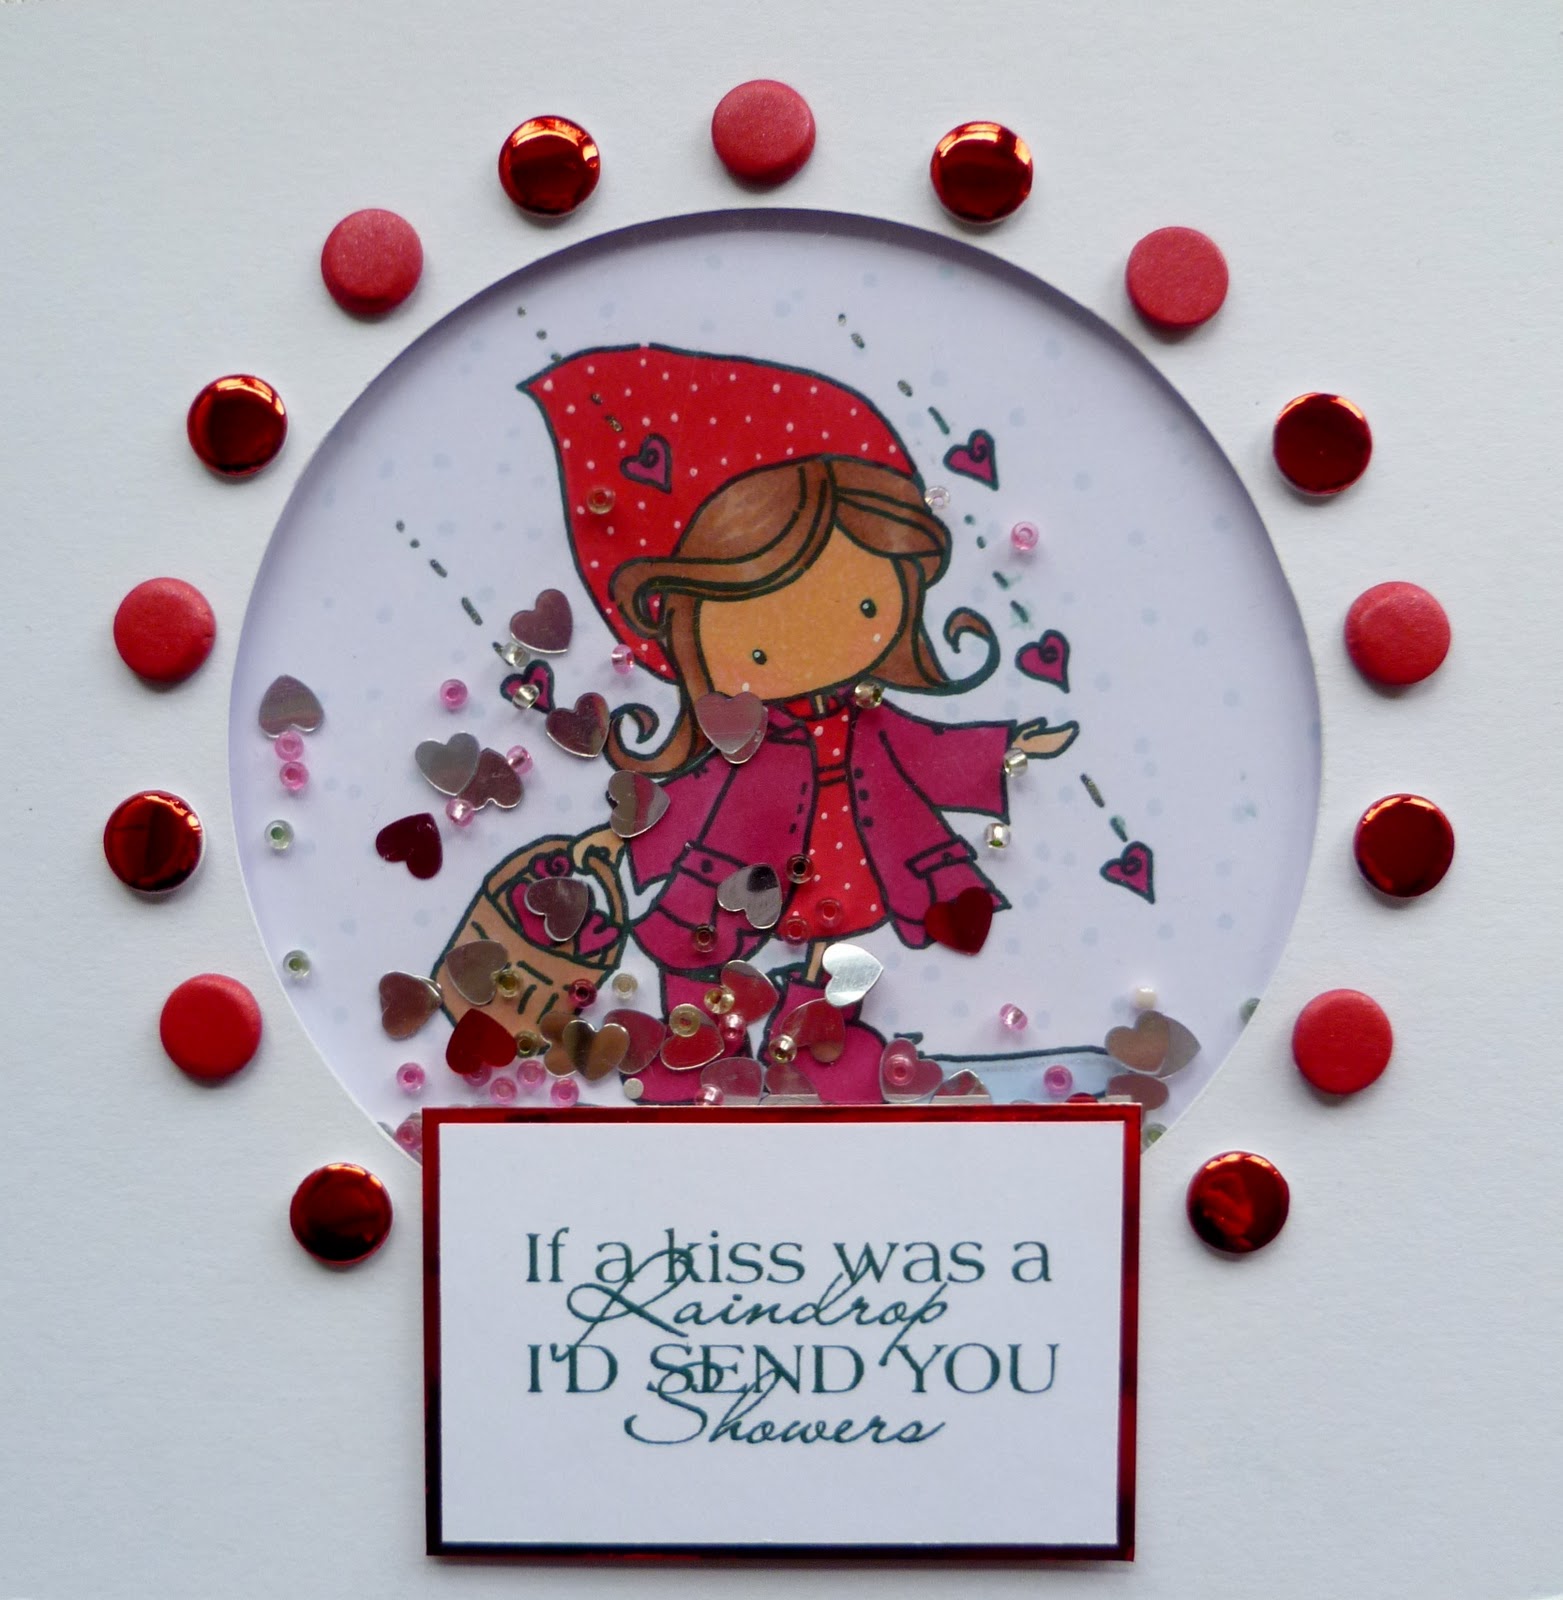
Shakin' Showers

Hi girls
The Tiddly Ink challenge is to make a SHAKER CARD using one of their fabulous images, so I chose this one.

I cut out the circle, for the shaker part, in the middle using my brand new circle cutter from We R Memory Keepers and then mounted acetate over the top of the circle on the inside.  Then I added foam pads all around the edge of the circle, making sure that none of the pads could be seen from the outside of the card (that would just look tacky!!!) and then I added some little silver and red confetti hearts and some beads.

I coloured my TI image with Promarkers; Cardinal Red, Poppy, Ivory, Blush, Umber, Cocoa and Cinnamon. I also used a little Pastel Blue on the puddle but you can't really see that very clearly because the sentiment is positioned over the top. The sentiment is from Create with TLC and was a freebie.

I then mounted the picture on the inside over the top of the foam pads and stuck it  tightly down with DSST so that it couldn't be removed (else all the bits and bobs would fall out...doh!) and finished it off with some red card candi from Craftwork Cards.

Hope you like my card.

If you have never made a Shaker Card before and would like to give it a go, pop over to the Tiddly Inks Blog as they have a really fabulous tutorial there. Thanks for stopping by.

Hugs xxx

Thursday, January 27, 2011

Can I Keep You FOREVER?

Hi girls, here's a card I made for the Tiddly Inks challenge 'QUOTE ME'.

Is it just me or did January just flash by in a wink??? But hey, on the bright side, after a (what seems like a very) long month waiting for PAY DAY, it's finally coming this Friday! I got my December wages on the 17th December (as I work in a school) and therefore, it has been an excrutiatingly LONNNNNNNG month waiting to get paid.

Anyway, without further ado, here's my card.

I used a Tiddly Ink digi and coloured him with my ProMarker pens. The sentiment was from Create with TLC which is just lovely. I might even make a similar card for my hubby this Valentine's. Although I am generally a doggie person, I just love this cute cat.

The background paper is from Craftwork Cards and has a really subtle shimmer to it, although unfortunately you can't see this in the photograph very well.

This card won TOP FIVE in the Tiddy Inks Challenge

Hope you like it. Thanks for stopping by
Hugs, Fae

Monday, October 18, 2010

Tiddly Inks Blog Candy

Wow, Christy is giving away a fabulous prize.
 
 To get qualified for the candy, link your specific blog post showing this candy. Get linked by Nov 4 at 11:59 PM and she will pick a winner on Nov 5.

The blog candy has a bit of everything:
3 sets of acrylic stamps, stacks of paper, cardboard, bits and pieces of goodies, mirrors and magnets, some cardstock and envelopes, a few finished cards and most important a CD of Tiddly Inks images worth $50....you pick the ones you want up to $50. :) Wahooooo!!!!
 
Isn't Christy fab for offering us all this goodiness...??? Good luck everyone.
Hugs and goodnight
 
Fae xxx

My Creepy Halloween Valentine

Hi girls, last one for today and this one is being entered into TWO challenges.

The first one being -
Haunted Design House: A Li'l Lurid and Lovesick and
TiddlyInks Challenge Blog: Anything Halloween

I, of course, used a Tiddly Inks image and coloured her in lurid red and distressed the edges slightly with coloured inks. And then the inside has my 'heart' for my hubby. Bleurghhhh, I hear you say! But I love him. I do!

It's a Halloween Valentine... why don't we actually have these cards in the shops. My heart belongs to you and all that. My Creepy Valentine... good idea for goths anyway.

I hope that it complies with both challenges rules and that you like it. Mores the point, I hope hubby likes it. He's not as creepy as I am. Whaaaaa ha haaaaaaaa...


Here's a little look at the inside of the card.

Yes, yes... I know it isn't Hallowe'en yet but, Happy Hallowe'en Girls and Boys.  Watch them bed bugs don't bite.

Thanks for stopping by
Hugs, Fae xxx

Sunday, October 17, 2010

Christmas Humm-Bugs

Card number four is last but by no means least and is my current favourite Christmas Card for 2010 so far. I used a Tiddly Inks image and kept the colours mainly red and green.

I had great fun colouring this image and used my infamous spotted background around the image, picking out some of the colours used on the image, which I think looks pretty cool.

I mounted the image onto black mirri cardstock and then cut some red DP and mounted that too. I then added a ribbon and a small present and finished the card off by adding little sprinkles of glitter to the baubles and the fairy bugs wings.

Hope you like it too?

Thanks for stopping by
Hugs, Fae xxx
Hugs, Fae xxx

Fairy Nice to See You

Card number three is made using another Tiddly Inks image. I love these little bug fairies. I coloured her in with Cardinal Red, Indigo Blue, Cinnamon, Cocoa, Henna, Blush and Ivory ProMarkers, and added some gold Sakura Gelly Roll onto to the star.

I took two different DPs and tore the edges from one of them and made the second piece smaller and stuck it to one side of the image. I mounted the image to the card and then added some flowers and a rustic charm (from an old bracelet... did I mention before? I keep EVERYTHING).

I then simply added the sentiment. Job done.

Thanks for stopping by
Hugs, Fae xxx

Experiment in Terror

Hi girls
Had a busy week, despite being full of flu. I have made a few cards that I would like to share with you and, a few that I won't, Mojo has been as poorly as my head I think and therefore SOME of the cards are fit for publication and the others... well... they're only fit for the bin!

Here's my first one, which was a bit of an experiment with terror. I enlarged the digi image to cover one half of the base card and then printed another of the same size onto plain white card. I then smudged some black stayzon ink around the edges of the base card and cut out a little piece of the duplicated image. Which I coloured in and mounted onto black mirri card. I coloured them in with ProMarkers; Cocoa, Henna, Cinnamon, Blush, Ivory, Lime Green, Indigo Blue, Cool Grey 5 and Cool Grey 3.

I was hoping for a totally spooky (yet cutesy) card and I think the black and white, with a splash of colour worked sort of... didn't it?

Thanks for stopping by.
Hugs, Fae xxx

Wednesday, October 06, 2010

Pinky in Lilac

Here's another card I made earlier in the week. Sorry about my shoddy posting this week, haven't been too good so I am justing getting around to it now and I love this timed posting, you just set it at whatever time you want and it does it all for you.

Anyway, I digress... back to my card.

This image is one of Christy Croll's over at Tiddly Inks... she's called 'Pinky' and I have to say that she's still my favourite image. 

I kept the colours in the DP quite bold, yet the image itself is pale and neutral.  I think it makes her stand out more. I just used ProMarkers Cocoa, Cinnamon, Blush, Ivory, Amethyst, Lilac and Bluebell

Thanks for stopping by
Hugs, Fae xxx

Wednesday, September 15, 2010

Good Luck Lianne

Hi girls

Here's another card that I have been doing today. I am entering it into the Sketch Saturday Challenge and here is the sketch they gave us this week to work with.

I decided to make a card for my daughter, Lianne. Although she is only is Year 9, she has been asked to do a Btec exam in Physical Education (which is the equivalent of TWO GCSEs) and next May she will also be doing her Science (Physics, Chemistry and Biology) exams early. I am really proud of her as she has been working very hard on her coursework and I hope this card will wish her well and good luck. But, because she will be doing these exams in Year 9, there is no real pressure, because if she doesn't do as well as her teachers are expecting her to, she can resit them in Year 10 if she wants to aim for a higher grade. If, however, she does as well as her teachers expect, she can keep the grade and then that takes some pressure off for when she does her other GCSEs in Year 10. Win, Win situation...

I started by laying down the background paper from My Minds Eye (Bright Dots Stack) and then mounted a string of some other co-ordinating paper from the stack onto blue cardstock. I mounted the Tiddly Inks image onto the same blue paper and then mounted some chipboard stars onto the same papers.

The image was coloured with ProMarkers: Sky Blue, Demin Blue, Cardinal Red, Ivory, Blush, Cocoa, Cinnamon, Sandstone and Ice Grey 1.

I mounted some co-ordinating ribbon onto the blue cardstock I used before and then printed a greeting on the printer using Cool Dog font from www.dafont.com.

All done. Hope you like it?

Good luck baby xxx

Thanks for stopping by.
Hugs, Fae xxx